This is a craft that I've always wanted to learn and I finally decided to find out how. After doing my typical google research, I discovered an Art Supply place in Calgary that sells the "authentic" Pysanky supplies and made a trip downtown to load up. Pysanky is relatively cheap. The Kistkas (the styluses used to draw) are a couple of dollars each as are the dyes. You can use any kind of beeswax (paraffin wax is not a good idea) and a candle.... that is really all you need. I bought a deluxe kit that included everything (I bought an extra Kistka and a tool for helping to blow out eggs) for around $50 (you could easily choose a couple of dyes and Kistka for much less. We have our favourite colours and have only used maybe six of the 11 dyes). Once the dyes are made up in mason jars (which I had to buy as well), they last for quite a while (I think I read several dozen eggs or a couple of years).

Traditional Pysanky uses raw eggs that are left whole and will eventually dry out. I, however, envisioned an egg getting knocked off it's display or exploding in storage and the resulting smell of decay and the disgusting clean up that would be required and decided to be less traditional. We would blow out the eggs' guts. You can blow first and ask questions later (as the egg contents are inedible if blown out after the dye process; the dyes are not food safe and some of the chemicals will soak into the egg) or design first and blow later. The biggest disadvantage to blowing first is that it is hard to hold the eggs down in the dye and there are white spots left where the holes are punctured (they are covered in wax so that dye doesn't get inside the egg and ruin the egg and/or the other dye baths). I decided we would blow first. And who best to blow... the people with the most air (it was silent for a whole 5 minutes during this process)
 |  |
The process of Pysanky is simple. I found a fabulous website that I more or less followed (we didn't do the vinegar or orange bath).
1) We drew our designs on paper and coloured them with crayon so that we knew which order to cover and dye (some of us were faster and went straight back to the important job of finishing a level on our DS).

2) Draw your design in pencil on the egg (we found that it is easier to do lots of geometric line designs with fewer areas to fill in. My original thought was that larger designs that would be filled in would be easier for the kids, not so).

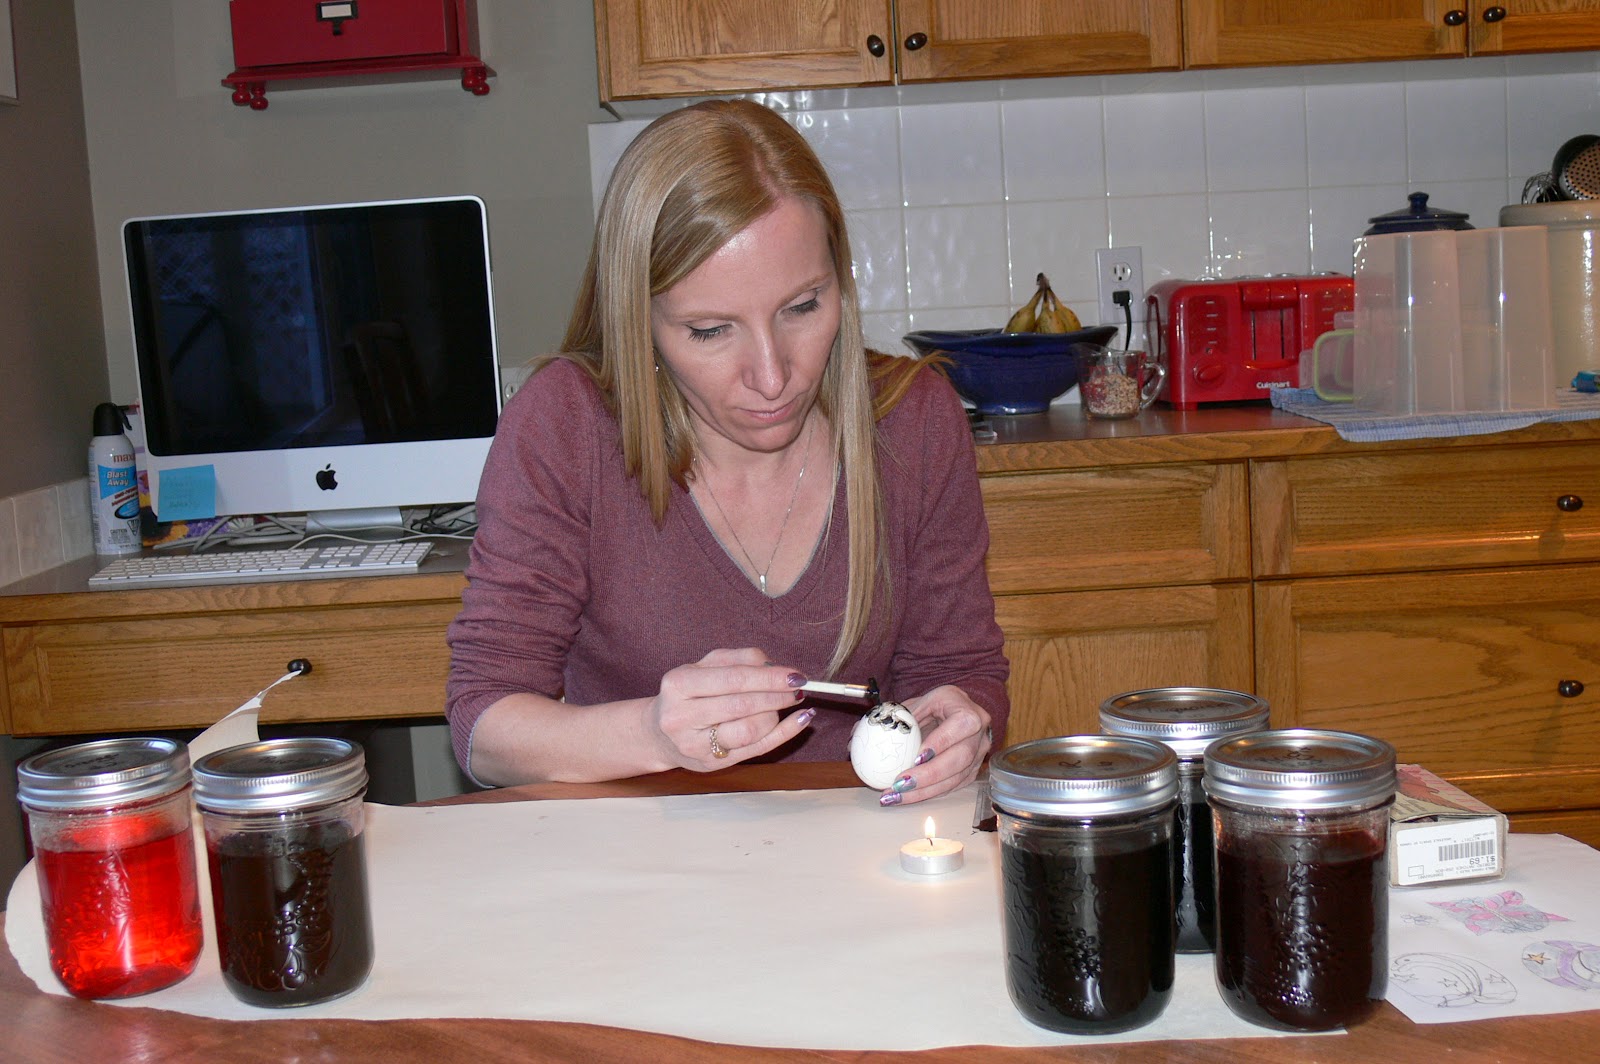
3) You then prepare your kistka, by holding in the flame for about 10 seconds and scooping wax off the sheet into the funnel (I did the scooping, I was worried about slippage and blistered fingers). The kistka is then reheated and the melted wax is used to draw.

4) To start your egg, you cover all the areas that you want left white with wax and dip into the lightest dye that your design has (yellow or orange).
5) After the egg is dyed and patted dry, you draw over the areas that you want to preserve as the colour of your first dip.

6) You then dip into the second colour (progressively darker with black being last) and repeat the process all over again. Most websites recommend only using 2-3 dips and we didn't experiment beyond the recommendation and in fact, I preferred the look of only 2 dips.
 |  |
7) Once the design is complete it looks .... well, like crap. The egg is covered in wax which then needs to be removed. I decided to use the hairdryer method which worked really well, but you have to be careful not to overheat the egg or it explodes..... ask me how I know. You heat sections of the egg and carefully wipe off the melted wax, revealing your creation.
 |
| Chey drew a Mososaurus (T-Rex of the Sea) on her egg.... I'm fairly certain that is NOT a traditional Ukrainian design |
 |
| My second attempt (the one that exploded...... although it did hold together due to the inner egg membrane and I think the varnish will keep it whole) |
 |
| After wax removal |
8) Varnish and display and you're done.
 |
| These are shot glasses that I thought worked perfected to display the eggs. |
 |
| This was my first attempt. I learned that large scale drawings are hard to cover completely... It's supposed to be a dolphin |
 |
| All lined up (Eli still has to finish his) |
 |
| This was my third and best attempt. I used mainly lines and only choose two colours. It is really quite pretty. |
You should try it!


No comments:
Post a Comment